Call today! 704-536-6667
Vinyl wrapping is one of the most effective ways to transform your car’s appearance without committing to permanent paint. Whether you want a color change, matte finish, or custom design, wrapping gives you flexibility, but the process requires precision, patience, and proper technique.
This guide from Sun Stoppers Window Tinting in Charlotte breaks down exactly how to vinyl wrap a car, from surface preparation through finishing and post-installation care, so you can achieve a smooth, durable result that lasts.
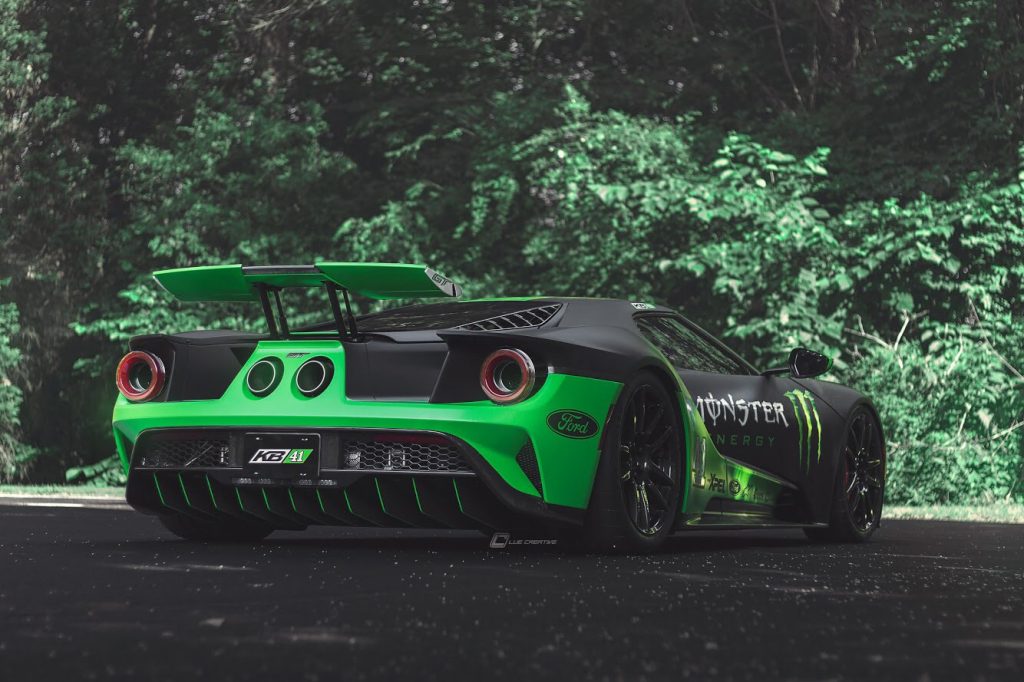
A vinyl wrap is a thin, pressure-sensitive adhesive film applied directly over a vehicle’s painted surface. Unlike paint, wrap sits on top of the clear coat and can be removed without damaging the original finish, provided it is applied and removed correctly.
Vinyl wraps are used for color changes, matte or specialty finishes, commercial branding, and as a paint protection layer against light surface contamination and UV exposure. They do not provide the same level of physical impact protection as paint protection film (PPF), but they offer significant aesthetic flexibility at a lower cost than a full respray.
Key material distinction: Professional-grade wraps use cast vinyl (2 to 2.5 mil thick), which is manufactured to conform to compound curves and complex surfaces. Consumer-grade calendered vinyl (3 to 4 mil) is stiffer and suitable only for flat or simple surfaces – not recommended for full vehicle wraps.
Having the right tools before starting is not optional – improvising mid-install leads to wasted material and poor results.
| Tool / Material | Purpose |
|---|---|
| Cast vinyl wrap film | Primary material – choose appropriate finish and quantity |
| Felt-edge squeegee | Pressing vinyl without scratching the surface |
| Heat gun (1500 to 2000W variable) | Softening vinyl for curves and edge work |
| Infrared thermometer | Monitoring surface temperature during heat application |
| Precision knife / 45° blade | Trimming edges cleanly |
| Knifeless tape | Clean cuts without blade contact on painted surfaces |
| Isopropyl alcohol (70 to 99%) | Final surface decontamination |
| Clay bar + lubricant | Removing embedded surface contamination |
| Microfiber towels (lint-free) | Wiping surfaces without leaving residue |
| Wrap gloves (nylon) | Preventing fingerprints and oils from adhering to the adhesive |
| Adhesion promoter | Edges, curves, and low-energy surfaces |
| Masking tape | Panel protection during trimming |
Environment: Work indoors in a clean, dust-free space. Ideal conditions are 18 to 25°C (65 to 77°F) with humidity below 60%. Cold vinyl is stiff and difficult to work with; hot environments cause the adhesive to tack too quickly, reducing repositionability.
Start with a deep wash to remove dirt, grease, and debris. Follow with a clay bar or decontamination process to eliminate embedded contaminants. Any residue left behind can affect adhesion and final appearance.
Remove badges, mirrors, or handles if possible. If not, carefully clean around them and use masking tape to protect edges. This step improves both appearance and durability.
Wipe down all panels with isopropyl alcohol to remove oils and residue. This ensures the vinyl bonds properly to the surface.
Cut vinyl slightly larger than each panel. If you’re unsure how much material you need, check this guide on how much vinyl to wrap a car. Extra material allows proper stretching and clean edge wrapping.
Place the vinyl over the panel and gradually remove the backing. Use a squeegee to press the vinyl from the center outward. Apply steady pressure to avoid air pockets.
Apply heat to soften the vinyl and help it conform to curves and contours. This step is critical for complex areas. Avoid overheating as it can damage the material.
Carefully wrap vinyl around edges and corners. Trim excess material using a sharp blade. Proper edge work prevents peeling over time.
Go over all panels with controlled heat to lock the vinyl in place. Inspect for bubbles, wrinkles, or lifting edges and fix them immediately.
These mistakes can reduce the lifespan of vinyl wrapping from 5 years to less than 1 year.
Contamination under the film is the leading cause of premature lifting. There are no shortcuts here.
Cold vinyl (below 15°C) is stiff and resists conforming. Hot environments (above 30°C) cause the adhesive to grab too quickly, making repositioning nearly impossible. Wind or dust indoors ruins adhesion.
Vinyl stretched beyond approximately 130% of its original dimension creates internal stress that causes it to retract – pulling edges away from surfaces over time. Use heat and relief cuts instead of force.
One of the most common DIY omissions. Without post-heating, edges will begin lifting within weeks, particularly in temperature-cycling environments.
A dull blade drags and tears, producing ragged cut edges that are much more likely to lift. Change blades frequently.
Creates visible seam lines and dramatically reduces edge durability. Remove trim where possible.
A properly installed wrap requires specific maintenance to reach its rated lifespan.
| Factor | DIY | Professional |
|---|---|---|
| Material waste buffer | 15 to 25% extra | 10 to 15% extra |
| Installation time | 2 to 5 days | 1 to 2 days |
| Risk of bubbles/lifting | Higher | Lower |
| Edge and corner quality | Variable | Consistent |
| Film warranty | May be voided | Maintained |
| Post-install support | None | Available |
Note: The most expensive DIY mistake is buying enough material for one attempt and running short during rework. If attempting a full wrap for the first time, budget for at least one additional roll beyond your estimate.
If you want a flawless finish without the risks of DIY, professional installation is the best choice. Sun Stoppers Window Tinting in Charlotte offers expert custom vinyl wrap services in Charlotte, NC, using premium materials and proven techniques.
Contact us today to schedule your appointment and give your vehicle a completely new look.
Quality cast vinyl wraps last 3 to 5 years with proper maintenance. Budget-calendered films typically last 1 to 3 years. Longevity depends on UV exposure, washing method, and whether edges were properly sealed during installation.
Quality cast vinyl removed within its rated lifespan from properly cured paint will not damage the surface. Risks increase when the wrap is left beyond its lifespan, applied over older or poorly adhered paint, or removed incorrectly without heat.
In most cases, yes. A professional full wrap typically costs $2,500 to $5,500, compared to $3,000 to $10,000+ for a quality full respray in a specialty finish like matte or color-shift.
Wait at least 48 to 72 hours before washing. Use hand washing with pH-neutral shampoo for the first two weeks, then maintain a normal routine using vinyl-safe products.
Vinyl wrap provides moderate protection against UV fading, light contamination, and minor abrasion. For maximum protection, PPF on high-impact areas combined with a vinyl wrap for color change is the most comprehensive approach.
Yes, and it is a practical combination. PPF handles physical impact protection, while vinyl wrap delivers the color or finish change. Ensure the PPF surface is clean and fully cured before applying wrap film over it.
Small bubbles under 1cm often disappear within 48 to 72 hours as the adhesive bonds. Larger bubbles should be addressed immediately by lifting the film, resqueegeeing, and post-heating. Once fully cured after 48 hours, bubbles are very difficult to fix without redoing the section.